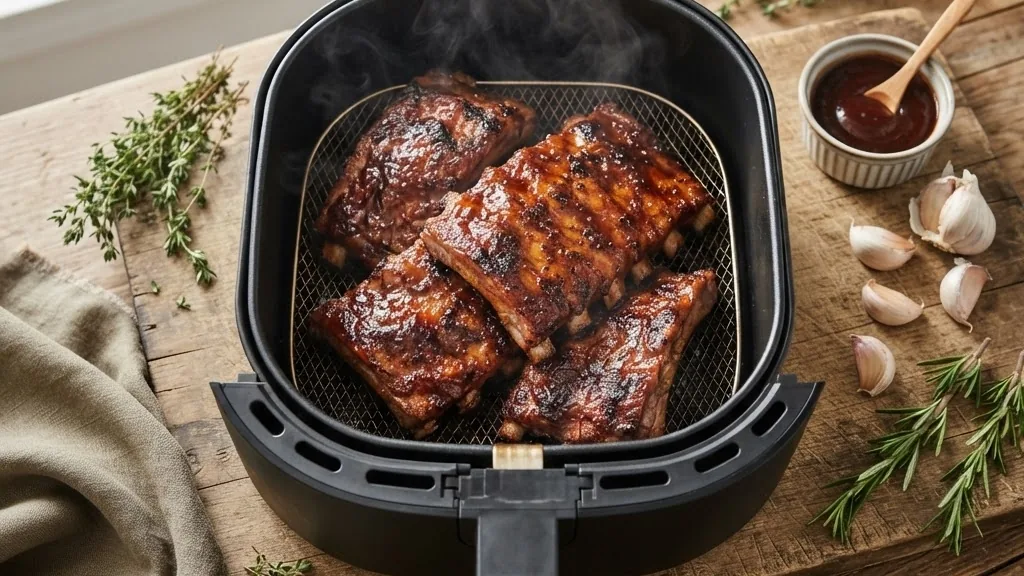
To reheat ribs in air fryer and keep them juicy, set the basket to 160 C to 175 C (325 F to 350 F) and warm them for 6 to 10 min straight from the fridge, or 12 to 15 min from frozen. Brush the rack with a little sauce or wrap it loosely in foil so the meat holds moisture. Lay the pieces in a single layer, flip once, and pull them when the center hits a safe 74 C / 165 F. Rest for 2 min, add fresh glaze, and you get bark that snaps instead of leather that fights back.
Why the Air Fryer Wins for Leftover Ribs
Compared with the microwave, the oven, and a foil packet on the grill, the air fryer wins on weeknight speed. The circulating heat crisps the outside while the inside comes back to life, so you get texture instead of a soft, steamed slab. A microwave heats unevenly and turns the ends rubbery. The oven works but takes 20 to 25 min to preheat and warm through. If you cooked the rack yourself from the BBQ ribs guide, this method treats those leftovers with the respect they earned.
There is a food science reason it works. Hot moving air pulls surface moisture off the sticky glaze fast, which lets the sugars firm up again into bark. At the same time the interior climbs gently because the pieces are small. That balance is hard to hit with any other appliance. The trick is not blasting the heat. Push the temperature too high and the outside scorches before the middle warms, which is the number one mistake with a first batch.
The Exact Settings: Temperature and Time
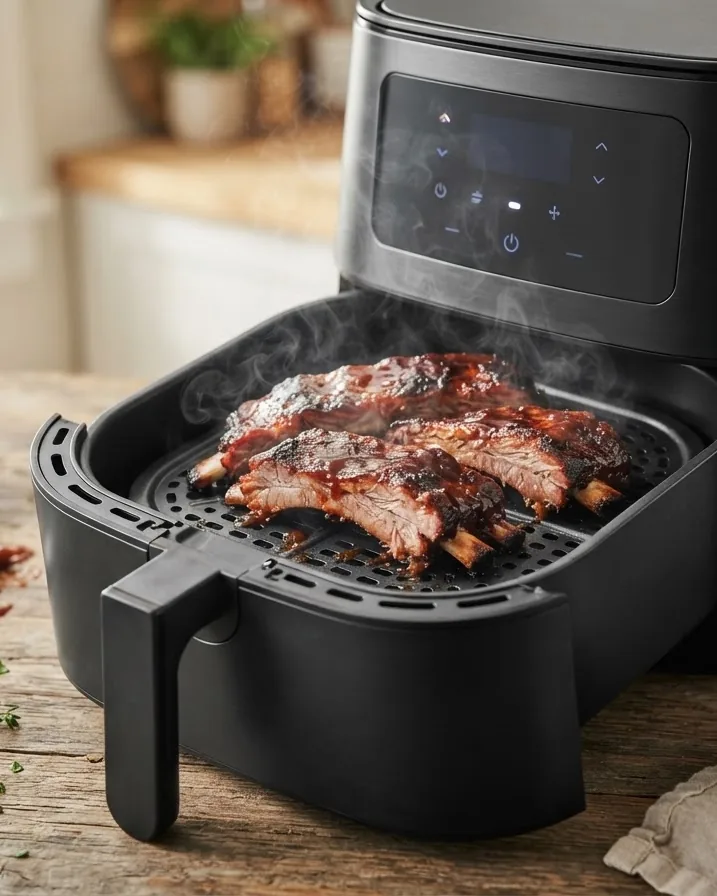
Here is the short version, worth keeping taped inside a cabinet. Aim for 175 C (350 F) as your default, and drop to 160 C (325 F) for thin baby back racks that heat quickly. From the refrigerator, most portions need 6 to 10 min. From frozen, plan on 12 to 15 min and check early. Always confirm the center reads 74 C / 165 F before you serve, because time is only a guide and every basket runs a little different.
Preheat the air fryer for 3 min first. Cold metal steals heat from the meat and stretches the timing, which dries the surface. A short preheat means the rack starts crisping the second it lands, so you spend less total time in the basket. Less time in dry moving air is the whole game when you want the leftovers to stay tender rather than turn into jerky.
| Starting state | Temperature | Time | Notes |
|---|---|---|---|
| Refrigerated (baby back) | 160 C to 175 C (325 F to 350 F) | 6 to 8 min | Flip at the halfway mark |
| Refrigerated (spare / St. Louis) | 175 C (350 F) | 8 to 10 min | Thicker meat needs the top end |
| Frozen (any cut) | 160 C (325 F) | 12 to 15 min | Lower heat so the outside does not burn |
| Room temperature | 175 C (350 F) | 5 to 7 min | Sat out 20 min before reheating |
Notice that frozen ribs use a lower temperature, not a higher one. It feels backward, but a gentler 160 C gives the ice time to melt and the heat time to reach the bone without cremating the glaze. If you crank it to 200 C to rush a frozen rack, the sauce blackens while the middle stays cold. Patience at a moderate setting always wins here.
Step by Step: How to Reheat Ribs in Air Fryer
This is the routine for a leftover rack in the fridge. It takes about 10 min start to finish and needs almost no cleanup. Read through once before you start so you are not scrambling for foil or a thermometer with hot meat in hand.
- Take the rack out and let it sit on the counter for 15 to 20 min so the chill comes off. Cold-shocking meat straight from 4 C makes the outside overcook before the center warms.
- Preheat the air fryer to 175 C (350 F) for 3 min.
- Wipe off heavy old sauce with a paper towel. The sugar left behind burns fast, so start with a mostly clean surface and re-glaze later.
- Brush the meat with a thin layer of sauce, broth, or a spritz of apple juice, or wrap the rack loosely in foil to trap steam.
- Lay the pieces bone-side down in a single layer with space between each one. Airflow needs a path around every rib.
- Heat for 6 to 10 min, flipping once at the halfway point so both faces crisp evenly.
- Brush on fresh glaze in the last 1 to 2 min so the sugars caramelize without scorching.
- Check the center near the bone with an instant thermometer. You want 74 C / 165 F.
- Rest the rack for 2 min before cutting so the juices settle back into the meat.
That resting step matters more than people think. When meat comes off any heat source, the juices are pushed toward the center and the muscle fibers are tight. Give it 2 min and those fibers relax, pulling the moisture back through the whole piece. Cut too soon and half the juice runs onto the board instead of staying where you want it, which leaves the leftovers drier than they had to be.
Food Safety: The 165 F Rule
Reheating is not just about taste. According to the FDA, cooked food left in the danger zone between 4 C and 60 F (40 F to 140 F) grows bacteria quickly, so warming leftovers all the way through is a real safety step, not a formality. The target is simple. Any reheated meat should reach 74 C / 165 F in the thickest part before you eat it, and an instant-read thermometer is the only honest way to know.
The USDA sets that same 165 F floor for all reheated leftovers, and you can cross-check nutrition and handling references through the USDA FoodData Central database. Measure near the bone but not touching it, since the bone reads hotter than the meat around it and can fool you into pulling the rack early. If the number is low, give it another 1 to 2 min and test again. There is no prize for guessing.
Storage timing feeds into safety too. Cooked ribs should go into the fridge within 2 hours of coming off the heat, or within 1 hour if your kitchen is above 32 C / 90 F. Once chilled, they stay good for 3 to 4 days at 4 C or below. Beyond that window the risk climbs even if the meat still looks fine, so write the cook date on the container lid and trust the calendar over your nose.
Baby Back vs Spare Ribs: Adjust Your Timing
Not every rack behaves the same in the basket, and knowing your cut saves you from over-drying. Baby back ribs come from the top of the rib cage near the spine. They are smaller, leaner, and more tender, so they warm through on the lower end of the range, roughly 6 to 7 min from the fridge. Because they carry less fat, they also dry out faster, which is exactly when a foil wrap or a broth spritz earns its keep.
Spare ribs and their trimmed St. Louis cousins come from the lower belly side of the cage. They are longer, meatier, and carry more fat and connective tissue. That extra marbling makes them forgiving, but the thicker meat needs the top end of the range, closer to 8 to 10 min at 175 C. When the original cook took 2.5 to 3 hours instead of the 1.5 to 2 hours a baby back needs, expect reheating to lean long as well. Match the timing to the cut and you stop guessing.
Keeping Them Moist: Sauce, Foil, and Gentle Heat
Dry leftover ribs are almost always a moisture problem, not a flavor problem. The fix is to add a small amount of liquid before reheating and to keep the sugars under control. A thin brush of sauce, about 1 tbsp spread across the rack, gives the surface something to work with. A quick spritz of apple juice or broth turns to steam inside the basket and keeps the meat supple without making it soggy.
Foil is the other reliable tool. Wrapping the rack loosely traps that steam against the meat for the first stretch of reheating, which is perfect for lean baby backs. If you want crispier bark, open the foil for the final 2 to 3 min so the surface can dry and firm up. That two-stage approach, closed then open, gives you both moisture and texture, which is hard to get any other way.
The sugar problem is real. BBQ glaze is loaded with sugar, and sugar burns at air fryer temperatures. That is why the old coating comes off and a fresh layer goes on only in the last 1 to 2 min. It caramelizes into a glossy finish instead of turning bitter and black. Avoid high heat above 200 C entirely, since it dries the meat and torches the glaze at the same time. Moderate heat and a late glaze beat aggressive heat every time.
One more habit worth building is checking the pieces as they go. Open the basket at the halfway flip and look. If the edges are getting dark too fast, drop the temperature 10 to 15 degrees for the rest of the run. Leftovers are already cooked, so your only job is to warm them back to 165 F, not to cook them again from scratch. Thinking of it as a warm-up rather than a full cook keeps you from overdoing it.
Storing and Freezing Leftover Racks
Good reheating starts with good storage. Cool the rack quickly, wrap it tightly or seal it in an airtight container, and refrigerate within that 2 hour window. Chilled cooked ribs hold their quality for 3 to 4 days, which covers most weeknight plans. If you know you will not get to them in time, freezing is a better move than pushing the fridge limit.
For the freezer, wrap the rack in foil, then slide it into a freezer bag with the air pressed out to fight freezer burn. Frozen cooked ribs keep their best quality for 2 to 3 months, though they stay safe indefinitely at a steady freezer temperature. Thaw overnight in the fridge when you can, but the beauty of the air fryer is that you can also go straight from frozen using the 12 to 15 min setting from the table above.
The same reheating logic carries over to other proteins, so once you have this down you can reuse it. My method for reheat chicken tenders in air fryer follows the identical single-layer, moderate-heat, check-the-temperature routine. Learn it once with ribs and you will use it for wings, brisket, and pork chops without a second thought. The appliance rewards a light touch no matter what you feed it.
Common Mistakes That Dry Out Your Ribs
Most sad, leathery leftovers trace back to a handful of avoidable errors. The biggest is cranking the heat to save time. High heat does not reheat faster in any useful sense, it just burns the outside while the middle lags behind. The second is skipping the moisture step, which leaves the surface to dry in the hot moving air with nothing to protect it. Both are easy to fix once you know to watch for them.
Crowding the basket is another quiet killer. When pieces overlap, the air cannot circulate, so some spots steam while others scorch, and nothing heats evenly. Work in batches if you have a big rack rather than stacking. Finally, skipping the thermometer means you are guessing at doneness, and guessing is how leftovers end up either unsafe or overcooked. A 15 dollar instant-read tool solves that problem for years. Nail these four points and your reheated racks come out tender nearly every time.
Do You Need Water, Oil, or a Foil Packet?
A common question is whether to add water to the air fryer drawer the way you might with an oven pan. The answer is usually no. A basket-style air fryer relies on dry moving air, and a puddle of water in the bottom just steams the underside and slows the crisping you came here for. The moisture you want lives on the meat itself, brushed on as sauce or broth, not sitting in the base of the machine.
Oil is a different story. A very light spritz of neutral oil on the surface helps lean baby back racks build a glossy exterior and keeps the bark from drying to dust. You do not need much, maybe half a teaspoon spread thin with a brush or a quick pump from an oil sprayer. Skip the aerosol cans with propellants, since they can gum up the basket coating over time. A refillable mister filled with your own oil is the cleaner choice and lasts for months.
Foil packets sit between the two. Wrapping the rack traps steam and protects the glaze, which is exactly what you want for the first stretch of a frozen reheat. The tradeoff is that a fully sealed packet keeps the surface soft, so you lose bark. That is why the foil comes off for the final 2 to 3 min almost every time. Think of foil as a moisture insurance policy you cancel right before serving so the outside can crisp.
Matching the Method to Your Air Fryer Model
Not all air fryers heat the same, and the settings in this guide are a starting point you should tune to your own machine. Basket models like the popular 5 to 6 quart drawers run hot and fast, so lean toward the lower 160 C setting and check early. Larger oven-style units with a rotating rack move more air but take longer to recover heat after you open the door, so they often want the full 175 C and the top end of the time range.
Wattage matters too. A 1500 watt to 1700 watt unit reheats a fridge-cold rack in the 6 to 8 min window without complaint. A smaller 900 watt to 1200 watt model may need an extra 2 to 3 min to reach the same 165 F center, especially with dense spare ribs. If you just bought your machine, run one test batch and note the timing on a sticky note. After a single practice round you will know your unit better than any chart can teach you.
Basket size changes how much you can do at once. A single rack of baby backs usually fits a 6 quart basket if you cut it into two or three sections and stand them on their sides like books on a shelf. That standing trick exposes more surface to the moving air and often heats faster than laying pieces flat. Just leave a finger width of space between each section so the air has a clear path all the way around.
Flavor Boosts for Second-Day Ribs
Leftover night is a chance to change the flavor instead of simply repeating it. Because the meat is already cooked, a fresh glaze in the last 1 to 2 min can take the rack in a completely new direction. Three quick options work well. A spoonful of honey mixed with hot sauce turns a plain BBQ rack sweet and spicy. A brush of hoisin with a pinch of five spice pushes it toward a Chinese takeout vibe. A squeeze of lime with chili powder brightens the whole thing.
Dry rubs work too, and they add texture without extra moisture. A light dusting of smoked paprika, brown sugar, and cracked pepper on the surface before the final blast of heat gives you a fresh crust that tastes freshly made. Keep the amounts small, since the meat already carries seasoning from the first cook. You are accenting, not starting over. A quarter teaspoon of rub per section is plenty to wake the flavor back up.
Do not forget the plate. A drizzle of the pan juices you saved from the original cook, warmed for 30 seconds, brings back the moisture and the deep flavor that reheating can flatten. If you did not save any, a spoonful of warm broth whisked with a little of your fresh glaze makes a fast sauce. These small finishing moves are the difference between leftovers that feel like an afterthought and a second dinner you actually look forward to.
Frequently Asked Questions
What temperature should I use to reheat ribs in air fryer?
Set the air fryer between 160 C and 175 C (325 F to 350 F). Use 175 C for meatier spare ribs and 160 C for thin baby backs or for anything going in frozen. Whatever setting you pick, the finish line is the same: the center of the meat should read 74 C / 165 F on an instant-read thermometer before you serve it.
How long do frozen ribs take compared to refrigerated ribs?
Refrigerated ribs need about 6 to 10 min, while frozen ribs need 12 to 15 min at a gentler 160 C so the outside does not burn before the center thaws. Room-temperature racks that sat out for 20 min go even faster, around 5 to 7 min. Always confirm 165 F rather than trusting the clock alone.
Can I reheat ribs that are 4 days old?
Cooked ribs are safe in the fridge for 3 to 4 days at 4 C or below, so a rack on its fourth day is at the edge of that window. If it was stored promptly, smells clean, and reheats fully to 165 F, it is fine to eat. When you are unsure, throw it out, because no meal is worth a foodborne illness.
Should I add sauce before or after reheating?
Do both, but lightly. Brush a thin layer on before reheating to protect the surface and add moisture, then apply the real glaze in the last 1 to 2 min so the sugars caramelize instead of burning. Wiping off thick old sauce first keeps the whole thing from turning bitter and black in the basket.
Do I need to preheat the air fryer before reheating ribs?
Yes, and it takes only 3 min. A preheated basket starts crisping the surface the moment the meat lands, which shortens the total time in the dry air and helps the leftovers stay tender. Skipping the preheat stretches the timing, so the outside dries out while the machine slowly climbs to temperature. Three minutes of preheating is cheap insurance against leathery ribs.
Why did my reheated ribs turn out dry and tough?
Almost always it comes down to three things: heat that was too high, no added moisture, or a crowded basket that blocked airflow. Fix all three at once. Drop to 160 C to 175 C, brush on a little sauce or broth or wrap in foil, and lay the pieces in a single layer with space between them. Then pull the rack the second it hits 74 C / 165 F rather than letting it sit longer.nnReheated ribs do not have to be a downgrade from the first night. Keep the heat moderate, add a little moisture, work in a single layer, and check for 74 C / 165 F, and the second serving can taste nearly as good as the fresh rack. Do it a few times and the whole routine becomes muscle memory, which is exactly what a good weeknight dinner should feel like.