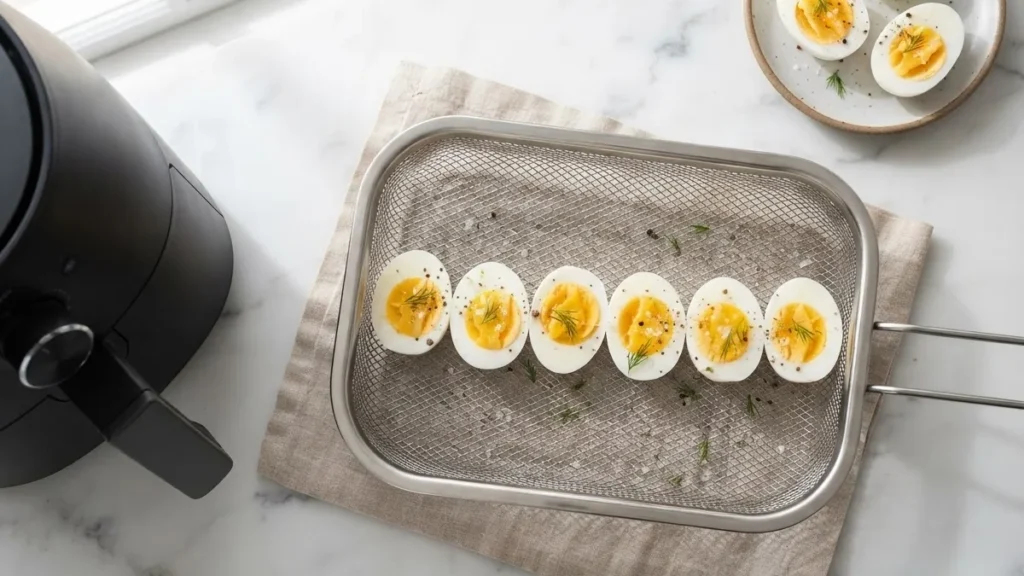
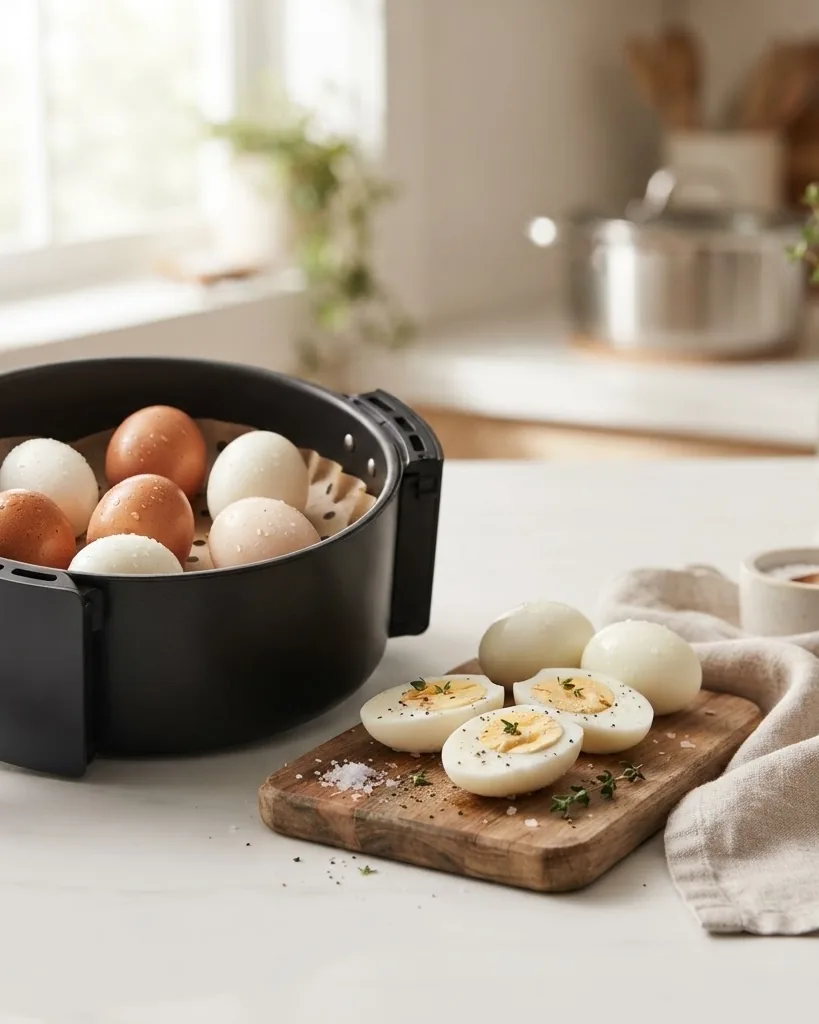
Set the basket to 250F, drop six eggs straight onto the rack, and 16 minutes later you have hard boiled eggs with no pot, no watched water, and no guessing.
The food-safety figures below are grounded in the USDA Food Safety and Inspection Service and the FDA.
Quick answer: To make hard boiled eggs in an air fryer, preheat to 250F, set whole raw eggs in a single layer on the rack, and cook for 16 minutes for a fully set yolk. Drop the timing to 12 minutes for soft, 14 minutes for medium. The second they finish, move them into an ice bath for 5 minutes. That cold shock stops the cooking and loosens the shell so peeling actually works. No water goes in the basket. The dry circulating air does all of it.
Why cook hard boiled eggs in the air fryer
The idea gets skeptical looks. Eggs, in the dry heat, with no water? Yes, and once you try it you understand why it caught on. The air fryer is a tight little convection chamber, and the circulating hot air heats the shell evenly on every side, which is exactly what a rolling pot of water does with steam and conduction. The egg does not know the difference. The white sets, the yolk sets, and you never lifted a pot.
Here is the real case for it. There is no waiting for water to reach a boil, which on a typical stove is a solid seven or eight minutes before an egg even goes in. There is no crowded pot where eggs knock together and crack. There is no draining a pot of scalding water into the sink. You preheat, you load the rack, you set a timer, and you walk away. For meal prep, when you want ten eggs cooked at once for the week, it is the single easiest method.
The other quiet advantage is consistency. Water temperature swings depending on how full the pot is and how hard it boils, so stovetop timing drifts. The air fryer holds its set temperature and treats every egg the same. Once you dial in the exact minute for your machine, you repeat it forever. If you are still learning your unit, the walkthrough on how to use an air fryer covers the basics that make this even simpler.
The exact time and temperature chart
This is the whole recipe, really. Temperature stays at 250F. Only the time changes, and the time decides how firm your yolk lands. These numbers apply to standard large eggs taken straight from the fridge.
| Yolk result | Temperature | Time | What you get |
|---|---|---|---|
| Soft boiled | 250F | 12 minutes | Runny, spoonable yolk, just-set white |
| Medium (jammy) | 250F | 14 minutes | Fudgy, bright orange center, fully set white |
| Hard boiled | 250F | 16 minutes | Firm, pale yolk all the way through |
| Hard, extra-large eggs | 250F | 17 minutes | Firm set for bigger eggs |
| Hard, no low setting | 300F | 7 to 8 minutes | Firm yolk when 250F is not available |
A word on that last row. Some cheaper machines will not go below 300F, and you can still get a good hard boiled egg out of them, but you have to cut the time nearly in half to 7 or 8 minutes and watch for browning. The lower 250F setting is more forgiving because there is a wider window between done and overdone. If your machine has it, use it.
Every air fryer runs a little differently, and that is the key caveat here. A given machine may need a minute more or a minute less than the chart. The smart move on your very first batch is to cook one test egg, pull it, run it under cold water, and cut it open. If the yolk is where you want it, you have your number. If it is too soft, add a minute next time. You calibrate once and you are set for life. The difference between machines is real, and it usually traces back to airflow and how tightly the chamber holds heat, as explained in the guide on how an air fryer works.
Step by step: a no-fail routine
Nothing here is complicated, but the order matters. Skip the preheat or skip the ice bath and the results wobble. This is the exact sequence to follow every time.
- Preheat to 250F for 3 to 5 minutes. A cold basket means the first few minutes of your cook time are wasted just bringing the chamber up to temperature, which throws off your timing. Preheat for about four minutes. My guide on how to preheat an air fryer covers why this small step matters so much.
- Load eggs in a single layer. Set the whole raw eggs directly on the rack or in the basket with a little space between them. Do not stack. The air has to reach every side of every egg. No water, no oil, nothing else goes in.
- Cook 16 minutes at 250F for hard boiled. Set the timer and leave it alone. There is no shaking, flipping, or turning eggs. They cook fine sitting still.
- Prep an ice bath while they cook. A bowl of cold water with a good handful of ice. Have it ready before the timer ends so there is no delay.
- Ice bath for 5 minutes. The instant the timer goes, tongs the eggs straight into the ice water. This stops the cooking cold and, just as important, contracts the egg away from the shell so it peels clean.
- Peel and eat or store. Tap the wide end, roll gently to crackle the shell all over, and peel under a thin stream of cool running water. The water gets under the membrane and floats the shell off.
That is the entire process. Preheat, load, 16 minutes, ice, peel. Once you have done it twice it becomes muscle memory and you will not even reach for a timer chart anymore.
The ice bath and why peeling gets easy
If you take one thing from this article, make it the ice bath. It is the difference between an egg that slips out of its shell in two pieces and an egg that comes out looking like the surface of the moon with half the white torn away.
Two things happen in that cold water. First, the rapid temperature drop halts carryover cooking, so a perfect 16-minute egg does not keep cooking on the counter into a gray, overdone one. Second, the egg contracts inside the shell, and the tiny gap that opens between the membrane and the white is what lets your thumb get under the shell. Skip the bath and the white stays fused to the membrane and tears as you pull.
The other half of easy peeling is egg age, and this surprises people. Very fresh eggs, straight from a farm stand, peel terribly no matter how you cook them, because the white clings hard to the inner membrane. Eggs that are at least a week old have a slightly higher internal pH and release cleanly. So the carton that has been in your fridge for ten days is your friend here, not the dozen you bought this morning. When prepping eggs for the week, reach for the older carton.
Troubleshooting: brown spots, cracks, and green yolks
A few things go sideways the first couple of times. All of them have simple fixes, and none of them mean you did anything dangerous.
- Light brown spots on the shell. These show up where the shell rests against the hot rack, and they are purely cosmetic. They do not affect the egg inside at all. To minimize them, stay at 250F rather than 300F and keep the eggs in a single layer so no spot sits too long against the metal. Some people set the eggs in a silicone muffin cup or on a small trivet to lift them off direct contact.
- Cracked shells. A hairline crack can happen if an egg was already stressed or if the chamber is running hot. Bringing eggs closer to room temperature before cooking helps, and so does dropping to 250F. A small crack rarely ruins the egg; the white just weeps a little.
- A gray-green ring around the yolk. This is overcooking, plain and simple. It comes from sulfur and iron reacting when the egg cooks too long or too hot, and it is harmless but ugly. The fix is the ice bath and pulling the eggs on time. If you keep seeing it at 16 minutes, drop to 15.
- Yolk too soft or too firm. This is just calibration. The machine runs a touch cooler or hotter than the one behind the chart. Adjust in one-minute steps until the chart lands where you like it, then lock in that number.
None of these are failures so much as feedback. The machine is telling you something about its airflow and heat, and one small adjustment fixes it for good.
Food safety: what the USDA actually says
Eggs carry a real Salmonella risk when undercooked, so this section sticks strictly to the food-safety agencies. According to the USDA Food Safety and Inspection Service safe minimum internal temperature chart, egg dishes should be cooked to an internal temperature of 160F. A fully hard boiled egg, with a firm white and a firm yolk, is cooked well beyond that point, so a proper 16-minute hard boiled egg is safely past the line.
The FDA’s safe food handling guidance makes the same point in plainer language: cooking eggs until both the white and the yolk are firm is what destroys Salmonella. That is exactly what a hard boiled egg is. A soft or runny yolk, by contrast, has not reached that firm state, which is worth knowing if you are cooking for someone pregnant, very young, elderly, or immune-compromised. For those higher-risk eaters, cook to the firm hard-boiled stage rather than leaving the yolk runny.
For the rest of us, a soft or jammy yolk is a normal choice most people make happily, the same way people order eggs over-easy at a diner. Just know the trade-off and make the call that fits who is eating. If you want the primary sources, they are the USDA FSIS safe temperature chart and the FDA safe food handling page.
Storage, meal prep, and how many you can batch
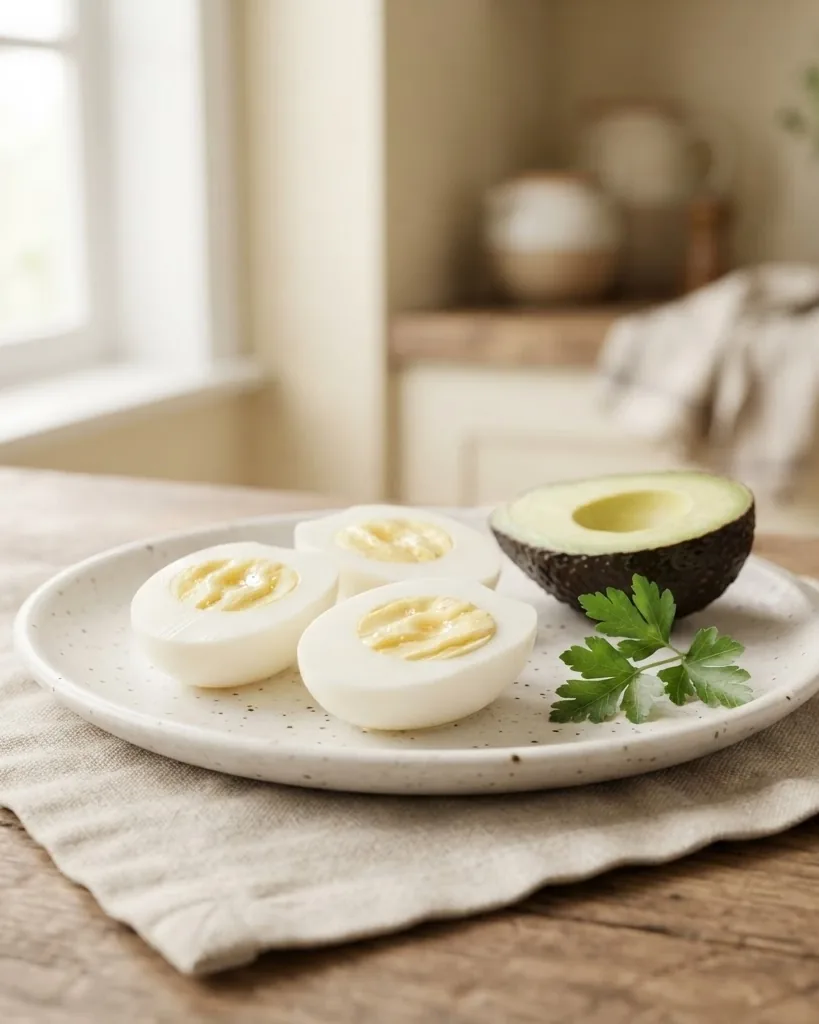
Meal prep is the main reason to make these, so here are the practical numbers. Hard boiled eggs keep in the refrigerator for up to one week. Store them in the shell, because the shell is a natural barrier that keeps them fresher and stops them from picking up fridge smells. Peel them only when you are about to eat them. If you must peel ahead, keep the peeled eggs in a covered container with a damp paper towel so they do not dry out.
On batch size, the only limit is how many eggs fit in a single layer on your rack. A standard basket fits six to eight comfortably, and a larger oven-style unit with multiple racks can take a full dozen at once, all on the same 16-minute timer. That is the beauty of the method for prep. The time does not change whether you cook two eggs or ten. You are heating air, and the air reaches all of them at once.
A hard boiled egg is genuinely good fuel, too. Per the nutrition breakdown at Healthline, one large egg carries roughly 6 to 7 grams of protein for about 70 to 78 calories, which is why they anchor so many meal-prep routines. A bowl of them in the fridge, peeled to order, covers breakfast, a snack, a salad topper, or a quick protein hit after a workout. For more hands-off air-fryer cooking, the guide to frozen fries in the air fryer runs on the same set-it-and-walk-away logic.
Air fryer vs stovetop: an honest comparison
A common question is whether the air fryer is really better than just boiling eggs, and the answer depends on what you value. The stovetop is not broken. Both sides are laid out below so you can decide for yourself.
| Factor | Air fryer | Stovetop boiling |
|---|---|---|
| Hands-on effort | Load rack, set timer, walk away | Watch pot, manage boil, drain |
| Time to start | 3 to 5 minute preheat | 7 to 8 minutes to boil water |
| Water needed | None | Full pot to drain and dry |
| Consistency | Same every batch once dialed in | Drifts with pot size and boil |
| Batch size | Limited to single layer on rack | Limited by pot size |
| Downside | Possible cosmetic brown spots | Cracking, watched pot, hot drain |
The stovetop still makes a fine egg, and if you are already boiling water for something else it is convenient. The air fryer removes two common annoyances: waiting for water to boil and draining a pot of scalding water. For pure hands-off repeatability, especially for meal prep, it is the stronger default. The only thing the stovetop clearly wins is that it never leaves a cosmetic brown spot on the shell.
Beyond hard boiled: what to actually make
Once you can turn out a tray of perfect hard boiled eggs on demand, the recipes open up, and this is where the batch approach pays off. Egg salad is the obvious one: chop a few, fold in mayo, a little mustard, salt, pepper, and some diced celery or pickle, and you have a sandwich filling in five minutes. Deviled eggs come from the same starting point, halved with the yolks mashed into a filling and piped back in.
The jammy, medium eggs at 14 minutes work well on top of a bowl of ramen, a grain bowl, or a green salad, where the softer yolk acts like a sauce. Sliced hard eggs go on toast, into a Cobb salad, or alongside a plate of greens. A plain hard egg with a shake of salt is one of the best portable protein snacks there is, which is a good reason to keep a bowl of them ready in the fridge. The air fryer just makes keeping that bowl full effortless.
A few common pitfalls
Beyond the chart, a handful of small habits separate a good batch from a frustrating one.
Do not overcrowd, even though it is tempting to jam in as many as possible. When eggs touch or stack, the ones in the middle shield each other from the airflow and cook unevenly, so you end up with some soft and some hard from the same batch. One layer, small gaps, every time.
Do not skip the preheat thinking it saves time. A cold chamber steals the first several minutes of your cook, and your carefully chosen 16 minutes becomes an unpredictable 13 or 14 minutes of actual cooking. Preheat and your timing stays honest.
Do not walk away from the ice bath step. The temptation after the timer beeps is to grab an egg and eat it hot. Resist it. The five minutes in cold water is what makes the peel behave, and it is what keeps a perfect yolk from sliding into overcooked. It is the least glamorous step and the most important one.
And do not judge the whole method on a single first attempt. Your machine has a personality, and one calibration egg tells you everything you need to adjust. After that, this becomes the most reliable way to cook eggs you have ever used.
Frequently asked questions
Do you put water in the air fryer for hard boiled eggs?
No. Unlike the stovetop, you add no water at all. The whole point is that the circulating dry hot air cooks the shell-in egg by convection. Just set the raw eggs on the rack and cook.
How long do you cook hard boiled eggs in an air fryer?
At 250F, cook for 16 minutes for a fully firm hard boiled yolk. Use 12 minutes for a soft runny yolk and 14 minutes for a medium, jammy center. If your machine only goes as low as 300F, cook for 7 to 8 minutes instead.
Why do my air fryer eggs have brown spots?
Those spots form where the shell touches the hot rack. They are cosmetic only and do not affect the egg inside. Keep the temperature at 250F and cook in a single layer to reduce them, or lift the eggs on a small trivet or silicone cup.
Are air fryer hard boiled eggs easy to peel?
Yes, when you do two things: shock them in an ice bath for 5 minutes right after cooking, and use eggs that are at least a week old. Very fresh eggs cling to the membrane and peel poorly no matter how they are cooked.
Are hard boiled eggs from the air fryer safe to eat?
Yes. The USDA says egg dishes should reach 160F, and a fully firm hard boiled egg is cooked well past that. Cooking the white and yolk until firm destroys Salmonella, per FDA guidance. For higher-risk eaters, choose the fully hard stage over a runny yolk.
How long do hard boiled eggs last in the fridge?
Up to one week when stored in the shell. Keep them unpeeled until you are ready to eat, since the shell keeps them fresher and blocks fridge odors.nnSources: USDA Food Safety and Inspection Service, safe minimum internal temperature chart (egg dishes 160F); U.S. Food and Drug Administration, safe food handling and Salmonella guidance; Healthline, egg nutrition and calorie data. Cooking times are compiled from published air-fryer references.nnAuthoritative references: USDA FSIS safe minimum internal temperature chart and FDA safe food handling.