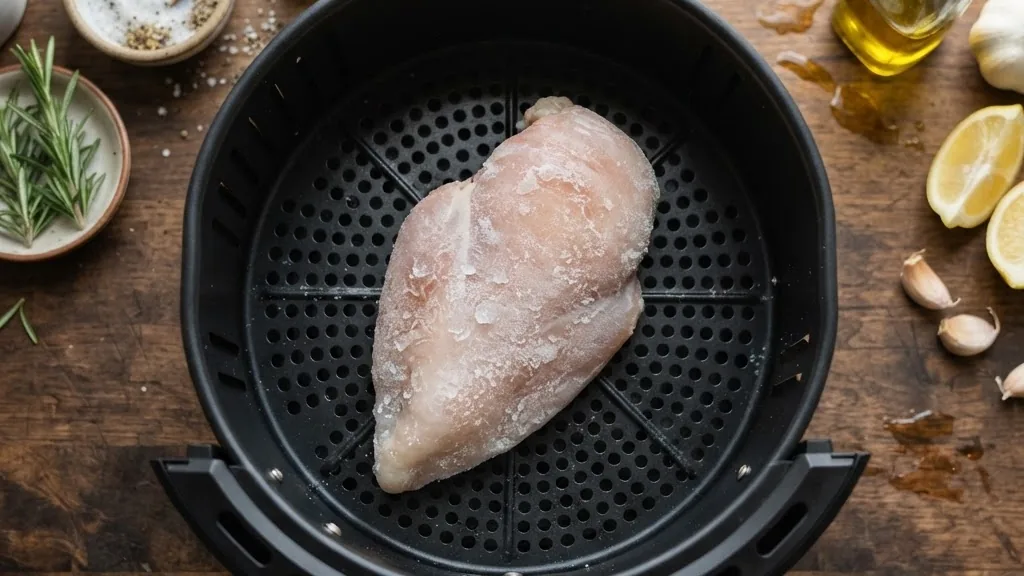
Cooking a frozen chicken breast air fryer style is a reliable weeknight rescue. Forgetting to thaw meat usually means either a sad thawing bowl of water in the sink or ordering takeout. The alternative is to drop the breasts straight from the freezer into the air fryer, cook them at 360F, and pull juicy chicken 23 minutes later. No planning ahead, no soggy defrost, no excuse. If you have a bag of frozen breasts and a thermometer, dinner is handled.
The timing is a working reference, and every food-safety figure here is grounded in the USDA Food Safety and Inspection Service, because this is poultry and poultry is not the place to improvise.
Quick answer: To cook a frozen chicken breast in the air fryer, preheat to 360F, place the frozen breasts in a single layer, and cook for 15 minutes. Flip them, season now that the surface has thawed, and cook another 8 minutes, roughly 23 minutes total. Thick breasts can need 30 to 35 minutes. The only finish line that counts is a safe internal temperature of 165F in the thickest part, measured with a meat thermometer. Never guess by color or time alone with chicken.
Yes, you can cook chicken breast straight from frozen
This still surprises people, so to be clear: the USDA confirms that cooking poultry straight from frozen is completely safe. It simply takes about 50 percent longer than cooking thawed chicken. The air fryer handles that extra time better than almost any other appliance because its fast, circulating heat drives into the frozen center while browning the outside, instead of the frozen middle staying cold while the outside overcooks.
What you avoid is the whole thawing headache. No overnight fridge shuffle, no risky counter thaw, no waterlogged breast from a defrost bowl. The one honest trade-off is that you cannot season a rock-hard frozen breast at the start, because nothing sticks to ice. The fix is easy and covered below: you season at the flip, once the surface has softened. Beyond that, frozen to plate is genuinely just as good as fresh in this machine.
The reason it works so well comes down to how the appliance moves heat. That tight chamber and fast fan penetrate and brown at the same time, as the guide on how an air fryer works explains. It is the same physics that crisps fries, just applied to a thick piece of protein.
Time and temperature chart
Thickness is the real variable with chicken breasts, since a thin cutlet and a fat gym-bro breast are wildly different jobs. Here is how the timing shakes out. Temperatures and times assume the breasts go in fully frozen.
| Breast size | Temperature | Total time | Method |
|---|---|---|---|
| Thin (under 1 inch) | 360F | 18 to 22 minutes | 12 min, flip, 6 to 10 min |
| Standard (about 1 inch) | 360F | 23 minutes | 15 min, flip, 8 min |
| Thick (over 1 inch) | 350 to 360F | 28 to 35 minutes | 15 min, flip, 13 to 20 min |
| Lower and slower | 350F | 25 to 35 minutes | Flip halfway, gentler on lean meat |
These are strong starting points, not promises, because every air fryer runs a little hot or cold. My machine nails a standard breast at 23 minutes; a weaker unit might need 25 or 26. That is why the chart is only half the answer and the thermometer is the other half. Cook to the time, then verify the temperature, and adjust your notes for next time. If you are still learning your unit, the beginner walkthrough on how to use an air fryer covers the fundamentals.
Step by step: from frozen to juicy
The sequence matters here more than with most foods, specifically because of when you season. Follow this order and you get a browned, seasoned, juicy breast rather than a bland steamed one.
- Preheat to 360F for 3 to 5 minutes. A hot chamber starts the cook immediately and keeps your timing honest. My guide on how to preheat an air fryer explains why skipping this quietly ruins your results.
- Load frozen breasts in a single layer. Space them so air reaches every side. Do not stack, and do not crowd. No oil needed at this stage; it would just slide off the ice anyway.
- Cook 15 minutes at 360F. The surface thaws and starts to cook through in this first stretch. It will look pale and unpromising at the halfway point. That is normal.
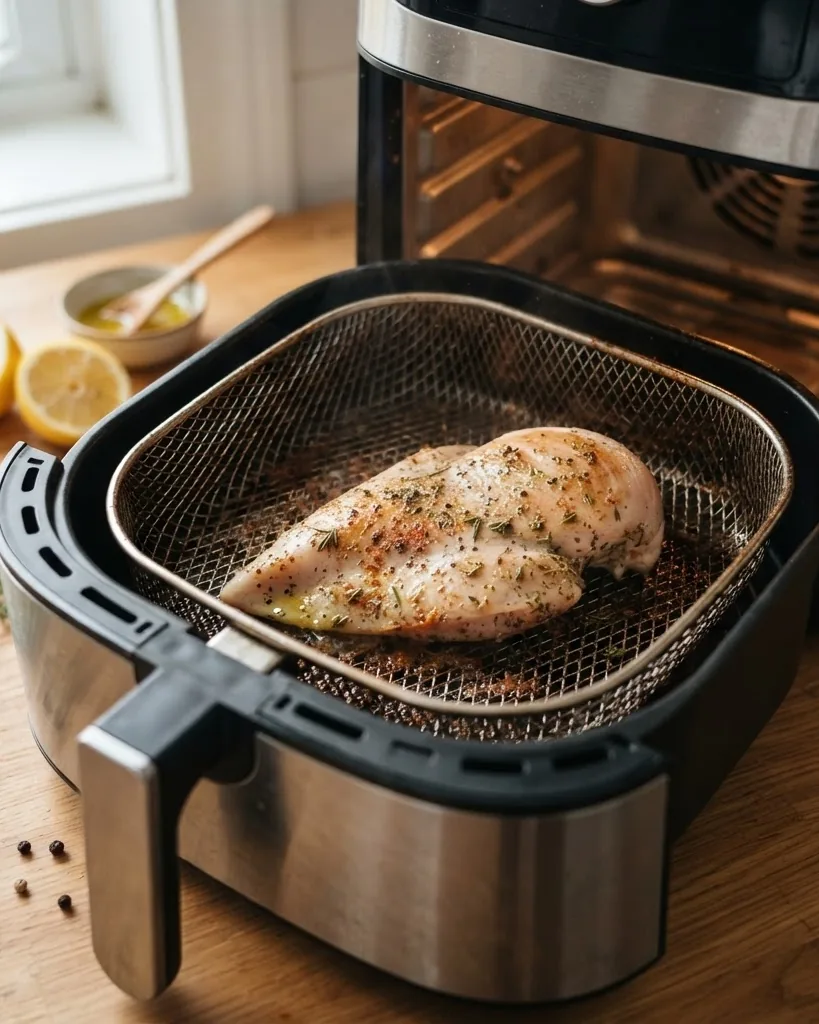
- Flip, then season and oil. Now that the surface has thawed and is tacky, this is the moment your salt, pepper, garlic, paprika, and a light brush or spray of oil will actually stick. Hit both sides.
- Cook another 8 minutes. For thick breasts, keep going another 13 to 20 minutes. The outside browns and the center finishes.
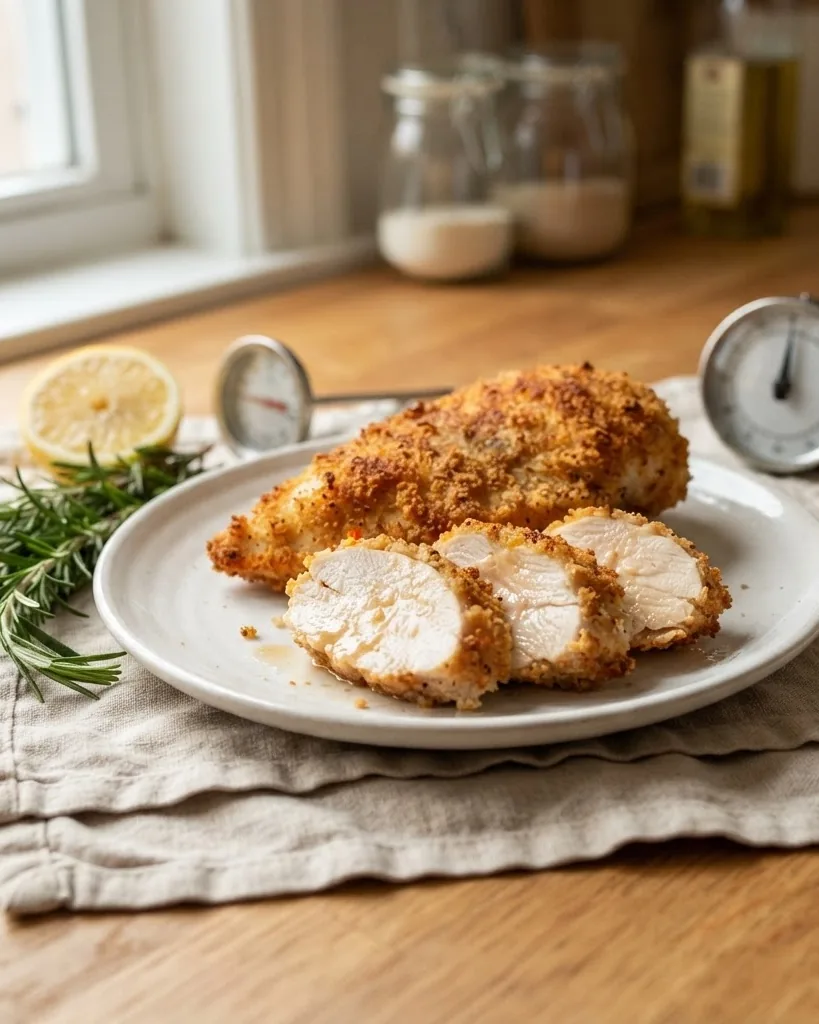
- Check 165F, then rest. Slide a thermometer into the thickest part. Pull at 160F, tent loosely with foil, and rest 5 minutes so carryover heat carries it to 165F while the juices settle. Confirm 165F before serving.
That resting trick in the last step is the single biggest upgrade to juiciness, and most people skip it. Chicken keeps cooking after it leaves the basket, so pulling at exactly 165F and slicing right away squeezes the juice out onto your board. Pull a touch early, rest, and it lands perfectly at 165F on its own.
The one number that matters: 165F
Everything else here is preference. This part is not. According to the USDA Food Safety and Inspection Service safe minimum internal temperature chart, chicken and all poultry must reach an internal temperature of 165F to be safe. That number kills the bacteria that make people sick, and there is no substitute for it. Not color, not clear juices, not how long the timer ran. A meat thermometer in the thickest part is the only thing that tells you the truth.
A breast that looks perfectly done can still be faintly pink and cool in the center when cut. The thermometer read 152F. Back it went for a few more minutes. Now the probe comes out every single time, because a frozen breast especially can run cold in the middle while the outside looks finished. With poultry, never freelance.
The one nuance worth knowing is carryover cooking. The meat’s temperature keeps climbing after you remove it, usually another 3 to 5 degrees. That is why pulling at 160F and resting under foil for 5 minutes lands you at a safe 165F with juicier meat than if you cooked it hard to 165F in the basket. You still hit the safe number; you just get there without drying it out. The primary source is the USDA FSIS safe temperature chart, and the details on cooking poultry from frozen are on the USDA FSIS chicken guidance page.
Seasoning frozen chicken so it actually sticks
The frozen part creates one real problem: you cannot season ice. Rub spices on a frozen breast at the start and they clatter right off into the basket. The whole solution is timing. Wait for the flip. By the 15-minute mark the surface has thawed and turned slightly tacky, and that is exactly when a spray of oil and a dusting of seasoning grab hold and stay.
My default is simple: salt, black pepper, garlic powder, and smoked paprika, with a light oil spray to help it adhere and brown. A squeeze of lemon or a spoon of barbecue sauce in the final few minutes builds a glaze, though sugary sauces can scorch, so add those late. You can also skip seasoning entirely in the machine and instead slice the plain cooked breast into a salad, a wrap, or a grain bowl that already has its own dressing. A plain 165F breast is a blank protein canvas, roughly 31 grams of protein and about 165 calories per cooked 100 grams by Healthline’s numbers, which is why it anchors so many meal-prep plates.
Thick vs thin breasts and how to adjust
The biggest source of frustration with any chicken breast, frozen or not, is uneven thickness. A breast that tapers from a fat lobe to a thin tail will overcook at the tail while the fat end is still climbing to temperature. With frozen breasts you cannot pound them flat at the start, so you adjust with placement and time instead.
Put the thickest breasts toward the outer edges of the basket where airflow tends to be strongest, and if you are cooking a mix of sizes, pull the thin ones as soon as they hit temperature and leave the thick ones in longer. Once they thaw partway through, you can even press a thick breast down gently with a spatula at the flip to help it cook evenly. The thermometer is your referee for all of this. Check each breast individually rather than assuming they all finished together, because with mixed thickness they rarely do.
Air fryer vs oven vs skillet for frozen chicken
The air fryer is the default for frozen breasts, but it helps to know why, so here is how the three common methods actually compare when the chicken starts frozen. Each one can get you to a safe 165F; they just differ wildly in time, evenness, and how juicy the result lands.
| Method | Time from frozen | Result | Effort |
|---|---|---|---|
| Air fryer | About 23 minutes | Even, browned, juicy | Low, one flip |
| Oven | 40 to 50 minutes | Even but often pale, drier | Low, long wait |
| Skillet | Not recommended frozen | Burnt outside, cold center | High, risky |
The skillet is the one to avoid with frozen breasts. A frozen breast on a hot pan browns and even burns on the outside long before the center thaws, so you end up with a scorched surface over a cold, unsafe middle. The oven works fine but takes nearly twice as long and tends to leave the breast paler and a touch drier because the slower, gentler heat pulls more moisture out over that longer cook. The air fryer’s fast convection is the best of both: it drives heat into the frozen center quickly while browning the outside, which is the same mechanism broken down in the guide on how an air fryer works. For frozen chicken specifically, it is not a close contest.
Common mistakes with frozen chicken breast
Almost every disappointing frozen breast traces back to one of a handful of mistakes, and once you name them they are easy to avoid.
- Not using a thermometer. This is the big one. With poultry, guessing by color or time is how people either serve undercooked chicken or dry it into cardboard. A cheap instant-read probe removes all doubt and is the single best few dollars you can spend for this.
- Trying to season at the start. Spices bounce off a frozen, icy surface and end up in the basket. Wait for the flip when the surface has thawed and turned tacky, then season and oil.
- Overcrowding the basket. Breasts touching or stacked block the airflow, so the middle ones cook unevenly and slowly. Leave space around each one, or cook in two batches.
- Skipping the flip. The side facing away from the fan lags behind. A single flip evens out both browning and doneness, and it is the natural moment to season.
- Slicing immediately. Cutting a breast the second it leaves the basket lets the juices run out onto the board. Rest it 5 minutes tented with foil and the juices redistribute back into the meat.
- Ignoring thickness. Cooking a thin cutlet and a fat lobe for the same time guarantees one is overdone or underdone. Sort by thickness and check each piece on its own.
None of these are hard to fix. Preheat, space them out, cook to time, flip and season at the halfway mark, verify 165F, and rest. Do those and frozen chicken becomes genuinely reliable rather than a gamble.
Serving ideas, storage, and reheating
A batch of air fryer chicken breasts is meal-prep gold. Cooked chicken keeps in the fridge for 3 to 4 days in a sealed container, and it freezes well too if you portion it. Cooking four or five breasts at once on a Sunday works well: slice some for salads and wraps, dice some for grain bowls, and keep a couple whole to reheat as a main.
To reheat without drying it out, the air fryer is again the best tool: 350F for 3 to 4 minutes brings a cold breast back to hot without turning it to rubber, especially if you slice it first so it warms fast. Pair the chicken with a batch of frozen fries in the air fryer and you have a full plate out of two frozen bags and one machine, which is about as low-effort as a real dinner gets.
Frozen tenders, cutlets, and breaded chicken
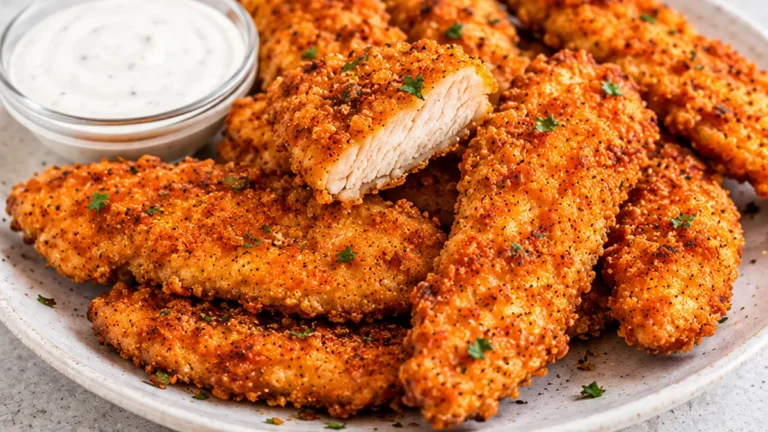
Plain breasts are not the only frozen chicken you will meet, and the timing shifts with the cut, so it helps to have the range in mind. Frozen chicken tenders, the raw kind rather than pre-breaded nuggets, are thinner than breasts and cook faster, usually 12 to 16 minutes at 360F with a flip, still finishing at a safe 165F. Because they are small, they can go from done to dry quickly, so start checking them early.
Frozen breaded items, like nuggets, patties, and pre-cooked breaded cutlets, are a different job because they are already fully cooked by the manufacturer. There you are just reheating and crisping the coating, which the air fryer does beautifully: roughly 400F for 8 to 12 minutes, shaking or flipping halfway, until the breading is golden and the center is steaming hot. These do not need the 15-plus minutes a raw breast does, so do not overcook them out of habit. The USDA still wants that center hot, but the coating browning is usually your visual cue that it is there.
The principle that ties it together is thickness and whether the meat started raw or pre-cooked. Raw and thick means longer times and a mandatory thermometer check to 165F. Pre-cooked and breaded means shorter times and a focus on crisping the coating. When in doubt, the probe settles it, exactly as it does for a plain breast. If you like this kind of freezer-to-plate cooking, pairing chicken with a batch of frozen fries in the air fryer makes a full meal from two frozen bags and one machine.
The bottom line on frozen chicken breast
The real reason a frozen chicken breast air fryer routine earns a permanent place in a weekly rotation is that it removes the one thing that derails weeknight dinners more than anything: forgetting to thaw. With this method there is nothing to remember. Frozen breast, 360F, 15 minutes, flip and season, 8 more minutes, check the temperature, rest, eat. It works whether you planned dinner or not, and that reliability is worth more than any fancy recipe.
Just keep the non-negotiables straight. This is poultry, so 165F in the thickest part is the only real finish line, and a thermometer is the tool that gets you there safely without drying the meat out. Preheat, give the breasts room, flip and season at the halfway mark once the surface thaws, and rest for 5 minutes before slicing so the juices stay in the meat. Nail those and a bag of frozen breasts becomes the most dependable protein in your freezer, ready for salads, wraps, bowls, and plates on any night you need it.
Frequently asked questions
Can you cook frozen chicken breast in an air fryer without thawing?
Yes. The USDA confirms cooking poultry from frozen is safe; it just takes about 50 percent longer than thawed. Cook at 360F for about 23 minutes for a standard breast, flipping halfway, and always confirm 165F internal with a thermometer.
How long does frozen chicken breast take in the air fryer?
A standard one-inch breast takes about 23 minutes at 360F: 15 minutes, flip, then 8 minutes. Thin breasts finish around 18 to 22 minutes, and thick breasts can need 28 to 35 minutes. Verify doneness by temperature, not the clock.
What temperature should frozen chicken breast reach?
165F internal, measured in the thickest part, per the USDA. For juicier meat, pull at 160F, tent with foil, and rest 5 minutes so carryover cooking brings it up to a safe 165F on its own.
Why won’t my seasoning stick to frozen chicken?
Because nothing sticks to ice. Wait until you flip the breasts at the halfway mark; by then the surface has thawed and turned tacky, so oil and spices will grab and stay. Season and lightly oil at that point.
Do I need to flip frozen chicken breast in the air fryer?
Yes, flipping halfway gives you even browning and even cooking, and it is also the ideal moment to season now that the surface has thawed. It is a small step that noticeably improves the result.
Is air-fried chicken breast healthy?
It is lean and high in protein, roughly 31 grams of protein and about 165 calories per cooked 100 grams, and it needs little to no added oil in the air fryer. Cooking to 165F keeps it both safe and lean.nnSources: USDA Food Safety and Inspection Service, safe minimum internal temperature chart (poultry 165F) and chicken from farm to table guidance (cooking from frozen); Healthline, chicken breast nutrition. Cooking times are a working reference.nnAuthoritative references: USDA FSIS safe minimum internal temperature chart and USDA FSIS chicken from farm to table.