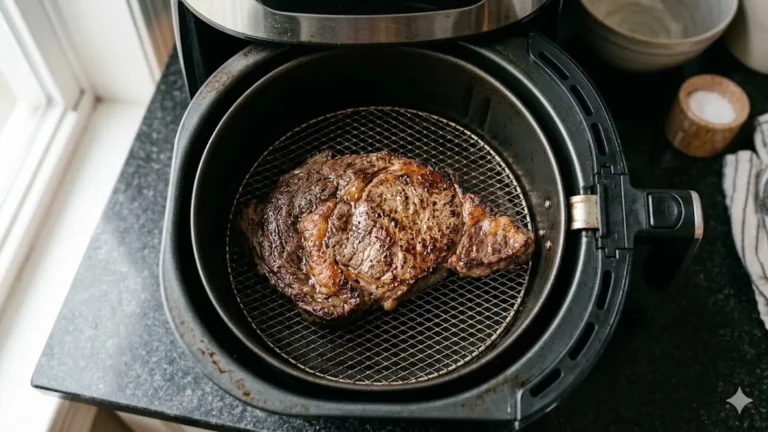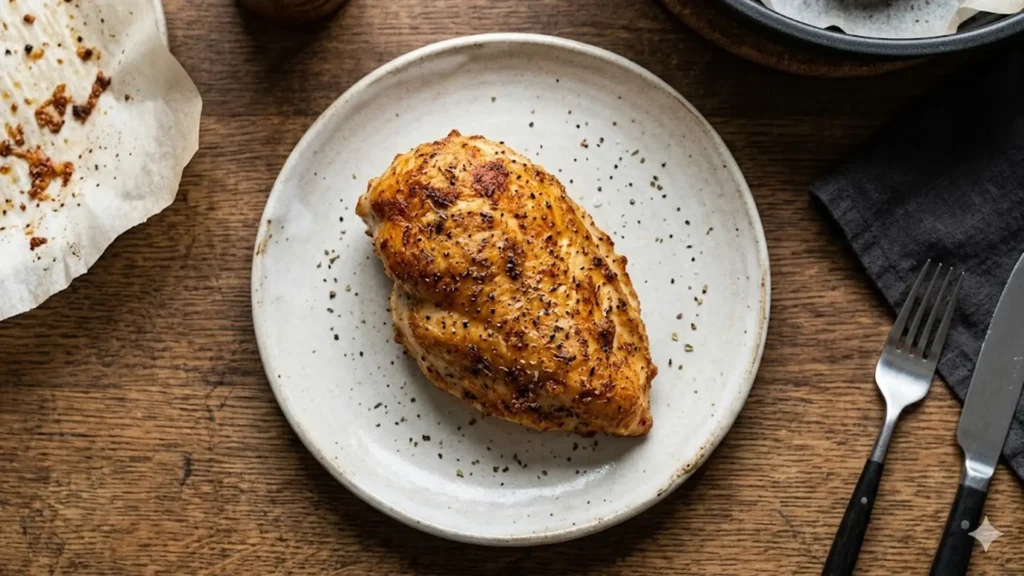
How long to cook chicken breast in air fryer comes down to size: a medium boneless breast takes 10 to 12 minutes at 375 degrees F, flipping once. Small breasts finish in 7 to 10 minutes, large ones in 12 to 16. Pull the chicken at 155 to 160 degrees F internal and let it rest five minutes, where carryover heat carries it to the safe 165. That early pull is the difference between juicy and dry.
The number everyone fixates on is weight printed on the package, but weight lies. A flat, wide breast and a fat, rounded breast can weigh the same and cook minutes apart, because heat reaches the center based on thickness, not ounces. Get that one idea and air fryer chicken breast stops being a gamble. I cook these constantly for meal prep, and the consistency only clicked once I stopped trusting the timer and started trusting a thermometer.
The time chart by size, fresh and frozen
Here is the chart I keep in my head. Everything is boneless skinless breast at 375 degrees F unless noted, flipping at the halfway point. The frozen line is the exception, because frozen chicken needs lower, slower heat so the outside does not overcook while the middle thaws.
The cutlet line is the one most people overlook, and it is a genuine shortcut. Slice a thick breast horizontally into two thin halves and you nearly halve the cook time while gaining more surface to season and brown. For a fast weeknight, halving is my default. For meal prep where I want neat whole breasts to slice later, I cook them whole and just respect the longer time. The frozen line surprises people too, since you really can cook a rock-hard breast straight from the freezer, you just trade roughly double the time and a lower temperature for the convenience of skipping the thaw.
Why thickness beats weight every time

It is worth slowing down on this point because it is the root of most chicken-breast frustration. Heat travels into meat from the outside, and the center is always the last place to reach temperature. A breast that is one and a half inches thick has a long way for the heat to travel, while a half-inch cutlet has almost none. Two breasts can weigh the same eight ounces, but if one is short and fat and the other is long and flat, the fat one needs several extra minutes because its center sits deeper.
This is why a recipe that worked for your friend fails for you. Their breast was a different shape than yours, even at the same weight on the scale. Once you start judging by thickness, you can adapt any time estimate to the actual piece in front of you. Look at the thickest point, not the package label. A breast over an inch and a quarter thick is a candidate for pounding flatter or slicing into cutlets, both of which shrink the cook time and make the result far more even.
Bone-in split breasts are a separate case worth a mention, since they take much longer, roughly 18 to 26 minutes, because the bone slows heat and the pieces are thicker. Most people air-frying chicken breast are using boneless skinless, which is what this guide centers on, but if you grabbed bone-in, plan for nearly double the time and still confirm 165 at the thickest point near the bone.
Pull at 155, not 165: the carryover rule
Chicken breast has to reach 165 degrees F to be safe, and that number is not negotiable. But here is the technique that keeps it juicy: you do not cook it to 165 in the basket. You pull it at 155 to 160 and let carryover heat finish the job during the rest. A breast pulled at 155 climbs to 165 over the next five minutes on the plate, because the hot outer layers keep feeding heat inward. Wait until the thermometer reads 165 inside the air fryer and you overshoot to 170-plus during the rest, which squeezes the juices out and dries the meat.
This is the single biggest lever for juicy chicken, and most quick recipes skip it. The science is the same as resting a steak. Springer Mountain Farms and other poultry sources confirm 165 degrees F as the safe target, and carryover is how you hit it without blasting past it. Buy a cheap instant-read thermometer, stick it in the thickest part, and pull at 155. This one habit fixed my dry-chicken problem permanently, and it costs nothing but the few seconds it takes to check a number.
Brining is the juiciness secret nobody mentions enough
Lean chicken breast has almost no fat to keep it moist, which is why it dries out so easily. Brining fixes that, and it takes less effort than you think. A dry brine is the easiest version: sprinkle about a teaspoon of kosher salt over each breast, set them on a plate, and refrigerate uncovered for 30 minutes or up to overnight. The salt pulls moisture out, dissolves into a brine, then gets reabsorbed along with seasoning, leaving the meat juicier and seasoned all the way through.
A wet brine works too if you have time: dissolve a quarter cup of salt in four cups of water, submerge the breasts for 30 to 60 minutes, then pat them bone dry before cooking. The cooks at America’s Test Kitchen have long championed brining lean poultry for exactly this reason, since the salt changes the protein structure so it holds onto more water during cooking. Drying the surface matters, because a wet breast steams instead of browning. I lean on the dry brine for weeknights because there is nothing to drain and no soggy surface to fix. Either way, brined chicken is noticeably plumper and more forgiving if you slightly overshoot the time.
The meal-prep batch that taught me even thickness
I once cooked six breasts at once for a week of lunches and pulled them all at the same time. Half were perfect. Half were dry, because they were thinner and had finished minutes earlier while I waited on the thick ones. That batch taught me the lesson that fixes most chicken-breast complaints: even thickness beats every other trick.
Now I pound each breast to a uniform thickness before cooking, laying it under plastic wrap and pressing the thick end down with the flat of my hand or a rolling pin until the whole thing is roughly even. It takes thirty seconds and means every breast finishes at the same moment. When the breasts are evenly thick, a single pull time works for the whole basket. If you are slicing your own from a big breast, this is also why the cutlet method is so reliable; two thin even halves cook far more predictably than one lumpy whole. The team’s guide to cooking frozen burgers covers the same single-layer and even-thickness logic that makes any protein come out right.
Should you preheat, and does oil matter?

Preheating helps chicken breast more than it helps most foods. A 2 to 3 minute preheat means the surface starts browning the moment the breast goes in, which seals the outside faster and shortens the window where the meat sits in the drying airflow. If your air fryer heats fast, you can skip it and add a minute, but for chicken I usually preheat because the browning is worth it.
Oil is small but meaningful. Lean breast has no fat of its own on the surface, so a light brush or spray of oil before cooking does two jobs: it helps the spices adhere and it promotes browning instead of a pale, dehydrated exterior. You do not need much, just a thin coat. Avocado and light olive oil both handle the heat well. Skip drenching the breast, since pooled oil just drips off and can smoke. A teaspoon per breast is plenty, applied after the brine and after patting the surface dry so it actually clings.
One thing not to do is add a wet sauce or marinade right before cooking and expect it to caramelize. Wet coatings steam in the dry air and keep the surface from browning. If you marinate, pat the breast dry before it hits the basket, and save any glaze for a brush-on in the last minute or two of cooking.
Troubleshooting by symptom
When a breast comes out wrong, the symptom tells you exactly what happened. Match yours to the fix.
Dry and stringy means you overcooked. Pull earlier next time at 155, brine first, and check that you are not at too high a temperature. Rubbery and tough usually means no brine plus overcooking; the brine is the cure. A pink or cold center means undercooked, almost always from a breast that was too thick or a crowded basket blocking airflow, so pound it thinner and cook in a single layer with space. Pale with no browning means the temperature was too low or the surface was wet; bump to 375 and pat the chicken dry before cooking. Burnt outside but raw inside means the temperature was too high for the thickness, so drop to 375 and give it the full time, or halve the breast into cutlets.
Crowding deserves its own warning because it causes more failures than anything else. Air fryers cook by moving hot air, and breasts jammed together block that flow, so the touching faces steam and stay pale while the rest cooks. Leave space around each breast. For more than two or three, cook in batches rather than piling them in.
Meal prep: cook once, eat for days
Chicken breast is the backbone of meal prep, and the air fryer makes the weekly batch painless. My routine is to brine four to six breasts on Saturday night, pound them even, and run them in batches on Sunday so the basket is never crowded. Pulled at 155 and rested, they cool down juicy rather than dry, which matters because reheated chicken that started dry becomes sawdust.
Store cooked breasts whole rather than pre-sliced, because a whole breast holds moisture better in the fridge than cut pieces with more exposed surface. Slice only what you are about to eat. They keep three to four days refrigerated in a sealed container, or freeze them for longer. When you reheat, go gentle: 325 degrees F for 3 to 4 minutes just to warm through, not cook further, since the chicken is already at its final doneness and more heat only dries it. A few drops of water or broth brushed on the surface before reheating gives the air something to pull from besides the meat itself, which keeps the breast from tightening up the second time around.
A trick for meal prep that keeps things from getting boring is to brine plain but season each batch differently right before cooking, so Monday is paprika and garlic while Wednesday is lemon pepper. Same base technique, different flavor, and you do not get sick of eating the same chicken all week. The brine does the heavy lifting on texture; the seasoning is just variety.
Seasoning and what to serve
Because the air fryer browns the surface, dry rubs shine here. Toss the brined, dried breasts with a little oil so the spices stick, then a blend of paprika, garlic powder, onion powder, salt, and pepper. Add the oil and spices after the brine and after drying, never before, so nothing washes off. Skip sugary glazes until the final minute or they scorch in the dry heat.
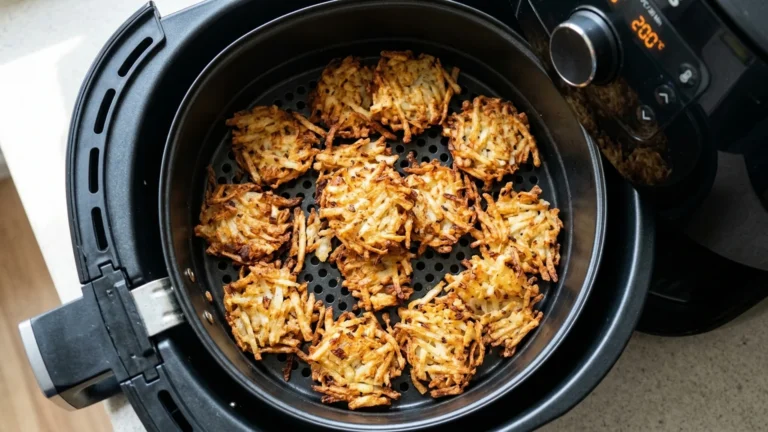
Cooked air fryer chicken breast slices beautifully over salads, tucks into wraps, or pairs with a starch. A side of crisp potatoes rounds out the plate; the frozen hash browns guide runs on the same single-layer logic. For dinner variety, a bowl of chicken pasta turns sliced breast into a full meal. Cook a batch on Sunday and you have protein ready for days. Diced cold breast also makes a fast chicken salad with a little mayo, celery, and mustard, and shredded breast loads into tacos or a quesadilla in minutes. The point is that one well-cooked batch becomes five different meals, which is exactly why this lean cut earns a permanent spot in the rotation once you can cook it juicy on demand.
FAQ
How long does chicken breast take in the air fryer?
A medium 8 to 10 ounce boneless breast takes 10 to 12 minutes at 375 degrees F, flipping once. Small breasts finish in 7 to 10 minutes and large ones in 12 to 16. Halving a breast into thin cutlets cuts the time to 6 to 10 minutes. Always confirm 165 degrees F in the thickest part.
What temperature is best for chicken breast in an air fryer?
375 degrees F is the sweet spot for fresh boneless breasts. It browns the surface while cooking the inside through without drying it out. Drop to 360 degrees F for frozen breasts so the outside does not overcook before the middle thaws.
Should I pull chicken breast at 165 or earlier?
Pull it at 155 to 160 degrees F and let it rest five minutes. Carryover heat carries it the rest of the way to the safe 165 without overshooting. Cooking all the way to 165 in the basket overshoots during the rest and dries the meat out.
Do I need to flip chicken breast in the air fryer?
Yes, flip it once at the halfway point so both sides brown evenly and the breast cooks uniformly. The side against the basket browns faster, so flipping balances it. Thin cutlets are forgiving enough that you can skip the flip if you are short on time.
Can I cook frozen chicken breast in the air fryer?
Yes. Cook frozen boneless breasts at 360 degrees F for 18 to 22 minutes, flipping halfway, and confirm 165 degrees F in the center. You cannot season a frozen breast well at the start since nothing sticks to ice, so season it partway through once the surface thaws.
Why is my air fryer chicken breast dry?
Almost always because it was cooked past 165 degrees F. Lean breast has little fat to protect it, so it dries fast. Brine it first, pound it to even thickness, and pull it at 155 to let carryover finish it. Those three habits fix dryness for good.
How do I keep chicken breast juicy in the air fryer?
Brine it, cook it to even thickness, and pull it early at 155 degrees F before resting. A 30-minute dry brine of a teaspoon of salt per breast makes the biggest difference. Even thickness means it cooks uniformly, and the early pull plus rest keeps the juices in.