How long to cook chicken tenders in air fryer depends entirely on which kind you have, but here is the fast answer: frozen breaded tenders take 8 to 12 minutes at 400 degrees F, and fresh homemade strips take 10 to 12 minutes at 380 degrees F. Either way, flip halfway and pull them when the inside hits 165 degrees F. That single number is the only doneness rule that actually keeps you safe.
Most pages online quote one time and assume you have the exact bag they used. That is why your tenders come out either pale and underdone or dry and overcooked. Tenders are not one product. A frozen Tyson tender, a raw breaded tenderloin, and a strip you breaded yourself behave like three different foods in the basket. I cook all three on different nights, and I have learned to read the bag before I touch the dial. If I am honest, the homemade ones are worth the extra ten minutes every single time; the frozen bags are pure convenience, not flavor.
I keep all four kinds in rotation, and the air fryer earns its counter space precisely because it handles each one without fuss. Frozen tenders are the lazy-night default, ready in the time it takes to set the table. Homemade strips are the weekend project that beats any drive-through. Knowing which clock to run is the only skill you need, so let me walk through each.
The four kinds of tenders and their exact times
Sort your tenders into one of four buckets first. This is the whole game. Get the bucket right and the timing is easy; get it wrong and no amount of fiddling saves it.
Here is a rule I rely on that the recipe cards never mention: the three-quarter-inch threshold. Any tender thicker than three quarters of an inch at its fattest point needs the longer end of its time range and a thermometer check, because the center lags badly. Anything thinner is forgiving and lands at the short end. Measure once with your eye against your thumb and you will calibrate fast.
The trap is the breaded frozen bag, because most are precooked but some are raw inside, and the bag does not always shout which. Precooked tenders only need reheating, so 8 to 10 minutes browns the coating and warms the center. Raw-inside tenders need the full 10 to 14 to actually cook the chicken, and if you treat them like precooked you get a hot crisp shell over cold pink chicken. When in doubt, cook longer and check the middle with a thermometer.
165 degrees F is the only number that matters

Chicken is not salmon. There is no medium-rare here, no carryover game to play for texture. Poultry has to reach 165 degrees F in the thickest part to be safe, full stop, and the USDA does not budge on that. Healthline’s meat temperature guide lists 165 degrees F as the safe minimum for all poultry, and at that temperature pasteurization is essentially instant and foolproof. A tender is thin enough that it gets there fast.
Buy a cheap instant-read thermometer and stick it into the fattest part of the thickest tender, not the skinny tail. If you see 165, you are done. If you see 150, give it two more minutes and check again. This matters most with raw-inside frozen tenders and homemade strips, where undercooking is a real safety issue, not just a texture miss. Precooked frozen tenders are already safe, so with those you are really just chasing crispness, but I still check because a cold center means a sad bite.
Why frozen tenders crisp better in an air fryer than the oven
Anyone who grew up eating oven-baked chicken tenders remembers the soggy bottom. The tender sits on a sheet pan, the underside steams against the metal, and you flip it once if you remember. The air fryer fixes this by surrounding the tender with moving hot air, so all sides crisp at once and the breading shatters instead of bending. America’s Test Kitchen has shown that convection airflow browns breaded foods faster and more evenly than still oven heat, which is exactly what a basket delivers in a small space.
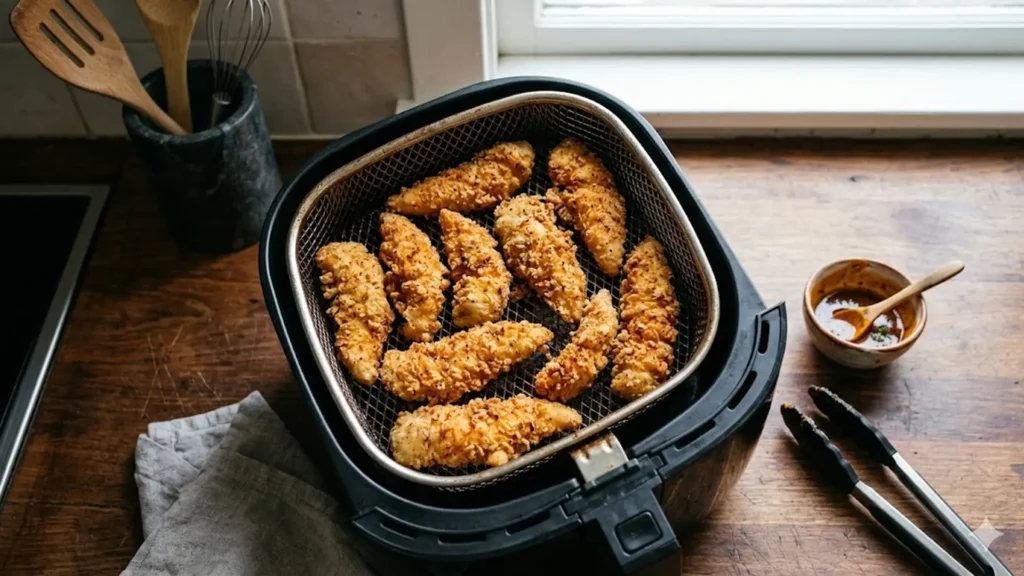
The practical upshot is that you can skip the deep fryer entirely and still get a crunch that holds. A light spritz of oil on the surface before cooking helps, especially on frozen plain tenders that have no breading fat of their own. For breaded tenders the coating usually carries enough oil already, so a spray is optional. Either way, leave them in a single layer. Stack them and the touching faces steam soft while the exposed faces crisp, and you end up with half-good tenders.
Single layer or stacked: how loading changes the time
How you arrange the tenders changes the clock more than people expect. A single uncrowded layer is the gold standard, and every time on the chart above assumes it. The hot air reaches all four sides, the breading crisps evenly, and the times hold. The moment you stack tenders or jam them edge to edge, two things happen: the cook stretches by several minutes, and the touching faces never crisp because they are steaming against each other.
If you are feeding a crowd, resist the urge to cram one giant batch. Two single-layer rounds in the same fryer beat one overcrowded load every time, and because each round is under fifteen minutes you are not waiting long. Hold the first batch in a 200-degree oven while the second cooks, or simply stack the finished crispy tenders loosely on a rack so they do not steam themselves soft. A wire rack under them lets air keep circulating so the bottoms stay crunchy until everyone is served. Whatever you do, do not pile hot tenders on a plate and cover them with foil, because the trapped steam softens the breading within minutes and undoes all your work.
Basket size plays in here too. A compact 4-quart fryer holds maybe six to eight tenders in a true single layer, while a larger 6-quart or a dual-basket model fits more. Know your basket and plan batches around it rather than forcing a count that does not fit. Overcrowding is the single most common reason a recipe time fails someone, and it is entirely avoidable.
The night my tenders were dry, and the fix
I once made homemade strips for my nephews and overcooked them into something closer to jerky. The breading looked perfect, golden and crisp, which fooled me into leaving them in. Inside, the chicken had gone past 175 and dried out. The lesson stuck: with thin tenders, the breading browns before the chicken is even close to done, so color is a liar. The thermometer is the truth.
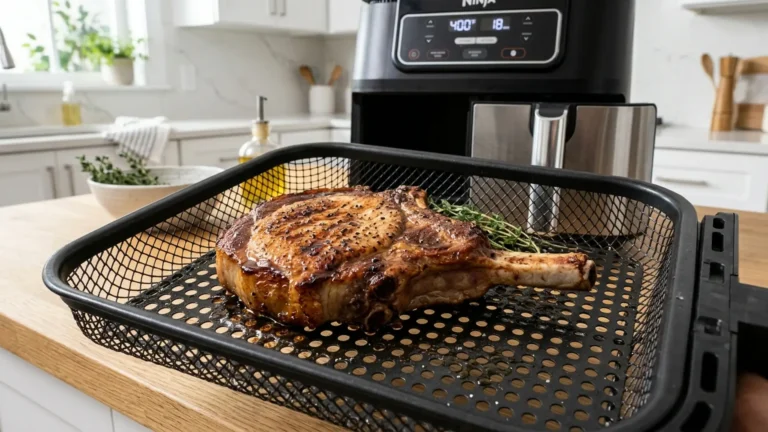
The fix had two parts. I started pounding my homemade strips to an even thickness so they cooked at the same rate, instead of one fat end and one thin end finishing minutes apart. And I started pulling them the instant they hit 165 instead of waiting for a deeper color, because thin chicken has almost no margin. Since then they come out juicy. If you slice your own tenders from chicken breast, an even thickness is the single biggest upgrade you can make. For a sense of how the basket moves heat on bigger cuts, the team’s note on air fryer versus oven explains why thin food cooks so fast here.
What to do when the breading falls off

Few things are more frustrating than opening the basket to find the breading sitting beside the chicken instead of on it. This happens for a handful of reasons, and all of them are fixable. The most common cause with homemade tenders is a wet surface under the breading. If the chicken was damp when you started, the flour turns to paste and the coating never bonds. Pat the strips dry before the flour stage and the problem usually disappears.
Skipping the flour layer is another culprit. Flour is the primer that lets the egg grip; without it, the egg slides off the slick chicken and takes the crumbs with it. The three-stage order of flour, egg, crumbs exists for a reason. Pressing the crumbs on firmly, then letting the breaded strips rest for five minutes before they go in the basket, gives the coating time to set so it holds through the cook.
With store-bought frozen tenders, breading loss is almost always about handling. Flipping them with tongs that pinch too hard can crack the coating off. Use a gentle turn with a thin spatula instead, sliding under the tender and rolling it rather than gripping it. And never flip frozen breaded tenders in the first few minutes, because the coating is still soft and fragile until the heat sets it. Wait until the halfway mark when it has firmed up.
Reheating leftover chicken tenders
The air fryer is the best tool for reviving day-old tenders, far better than the microwave that turns them into limp, steamy disappointment. Set the basket to 350 degrees F and reheat for 3 to 5 minutes, flipping once. You are not cooking them again, just warming the center and re-crisping the shell, so keep the temperature moderate and the time short. Cold tenders straight from the fridge take the full 5; ones closer to room temperature need only 3.
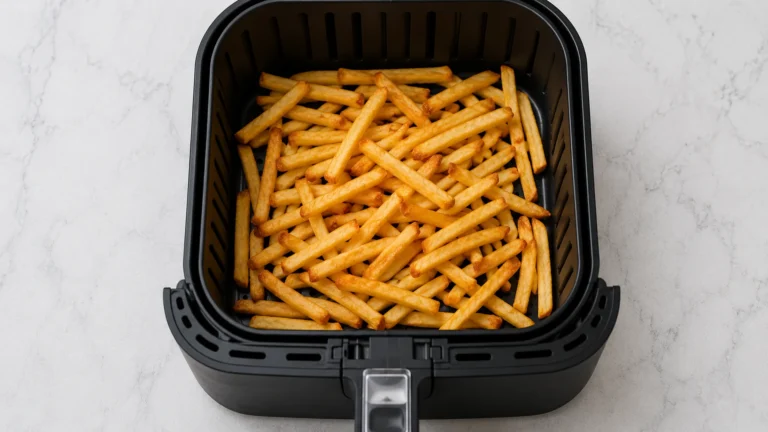
A small trick keeps reheated breading crisp: do not cover them and do not stack them. The whole point is to let the dry air pull the refrigerator moisture off the surface. Pile them and that moisture has nowhere to go, and you are back to soggy. If you reheat a big batch, do two single-layer rounds. They pair well with crisp fries on the side; the reheating fries guide runs on the exact same logic, and a few asian sauces turn leftovers into a fresh meal.
Homemade tenders from raw chicken breast, start to finish
Making your own tenders from chicken breast is the cheapest and tastiest route, and the air fryer makes it weeknight-fast. Slice a boneless breast lengthwise into strips about three quarters of an inch thick. Even thickness is everything, so where a strip is fat, press it down or trim it so the whole piece cooks at one pace. Uneven strips are why one tender comes out juicy and the one next to it comes out dry.
Set up three shallow bowls: seasoned flour, beaten egg, and panko crumbs. Drag each strip through flour, then egg, then crumbs, pressing the crumbs on so they stick. Lay the breaded strips in a single layer, give them a light spray of oil so the crumbs brown instead of staying chalky, and cook at 380 degrees F for 10 to 12 minutes, flipping once. Confirm 165 in the center. The spray is the difference between pale, raw-looking breading and a golden crunch, so do not skip it on homemade pieces.
A buttermilk soak before breading is the upgrade that takes these from good to crave-worthy. Soak the raw strips in buttermilk for 30 minutes, or overnight if you plan ahead, then bread and cook as above. The acid tenderizes the meat and helps the coating cling. It is the same principle behind classic fried chicken, scaled down for a tender and adapted for a basket that uses a fraction of the oil.
Seasoning and breading that holds up
If you bread your own, the order matters more than the recipe. Flour first to dry the surface, then egg to glue, then crumbs to crunch, pressing the crumbs on firmly so they do not flake off in the basket. Panko crumbs crisp better than fine breadcrumbs because their larger flakes catch more air. A little paprika and garlic powder in the flour stage seasons from the inside out so the flavor is not just on the surface.
For seasoning plain tenders, dry rubs beat wet marinades in the air fryer because wet coatings can steam. Toss the tenders with oil first so the spices stick, then your blend: salt, pepper, garlic, a little smoked paprika. Skip sugary glazes until the last minute or they scorch. Keep the layer single and you reward yourself with even browning on every piece.
If you want a coating that crunches like the takeout version, mix a spoonful of cornstarch into the flour stage. The cornstarch crisps harder than flour alone and gives that shatter you get from a deep fryer, with none of the oil. A pinch of baking powder in the flour does something similar by helping the surface blister and brown. These are small tweaks, but they are the kind of detail that separates a homemade tender you are proud of from one that is merely fine. Season generously, because a thin strip has a lot of surface and undersalted breading tastes flat no matter how crisp it is.
FAQ
How long do frozen chicken tenders take in the air fryer?
Precooked breaded frozen tenders take 8 to 10 minutes at 400 degrees F, and raw-inside breaded ones take 10 to 14 minutes at 400. Plain unbreaded frozen tenders run 12 to 15 minutes at 360. Flip halfway and confirm the center reaches 165 degrees F before serving.
What temperature should I cook chicken tenders at in an air fryer?
Use 400 degrees F for breaded tenders to crisp the coating, 380 for fresh homemade strips, and 360 for plain unbreaded frozen tenders so they cook through without drying. The breading is what decides the temperature; higher heat crisps a coating, lower heat protects bare chicken.
Do I need to thaw frozen chicken tenders first?
No. Cook them straight from frozen in a single layer. Thawing first does not improve the result and adds time. Just add a few minutes to the cook compared to fresh, and always check the internal temperature since frozen centers heat slower.
How do I know when chicken tenders are done?
Check the internal temperature with a thermometer in the thickest part. It must read 165 degrees F. Do not trust the color of the breading, since the coating browns long before the chicken is cooked, especially on raw-inside and homemade tenders.
Why are my air fryer chicken tenders dry?
They were cooked past 165 degrees F. Thin tenders have almost no margin, and the breading browns before the chicken finishes, which fools people into leaving them in too long. Pull them the moment they hit 165, and pound homemade strips to an even thickness so they cook uniformly.
Can I reheat chicken tenders in the air fryer?
Yes, and it beats the microwave. Reheat at 350 degrees F for 3 to 5 minutes, flipping once, in a single uncovered layer so the air re-crisps the breading. Cold-from-the-fridge tenders take the full 5 minutes; warmer ones need only 3.
Should I flip chicken tenders in the air fryer?
Yes, flip them once at the halfway point so both sides crisp evenly. The side touching the basket browns faster, so flipping balances it. Shaking the basket also works for a pile of smaller tenders, but a clean flip is better for larger strips that you want golden on both faces.